
Maintaining the Edge: A Practical Guide to Knife Sharpening
By Juan Arango
Colombian Army veteran, mechanical engineer, FAA Senior Rigger
Last Updated: February 2026
A dull knife is a safety problem before it's a performance problem. When the edge won't bite, you compensate with force — and force is what causes slips. I've seen this in the field, and I see it in the questions I get from people who've been carrying the same knife for months without touching the edge. The knife looks fine. It just doesn't work anymore.
The good news is that sharpening isn't complicated. It's a skill with a short learning curve, and once you have it, fifteen minutes a month keeps any blade in working condition. What follows is the method I use and teach — no special equipment required to get started, no mystery to the process.
Why sharpening matters
A sharp edge isn't just more effective — it's safer. Less force means more control, and more control means fewer accidents. It also means your knife lasts longer. Proper maintenance extends the life of any blade significantly, and for high-carbon steels like 1095, it's the difference between a knife that performs for decades and one that degrades into a pry bar.
How to sharpen your knife
Sharpening is a fundamental skill for anyone prioritizing readiness. Follow this proven process:
1. Select your abrasive
For high-carbon tactical steels, use:
- Diamond stones: Aggressive, fast cutting, ideal for reshaping damaged edges
- Ceramic stones: Smooth, consistent, excellent for regular maintenance
- Whetstones: Traditional choice, requires water or oil
A dual-grit diamond stone (coarse on one side, fine on the other) covers most situations and is the only thing you need to get started.
2. Set the angle
Most tactical and outdoor knives perform best at a 20-degree angle per side. This provides a "toothy" edge that bites into material while maintaining durability for heavy tasks like batoning, prying, and field use.
Angle guide:
- 15–17 degrees: Kitchen knives, precision work
- 20 degrees: EDC, tactical, outdoor knives (recommended)
- 25+ degrees: Heavy-duty chopping, machetes
Tip: Use the Sharpie trick to verify your angle:
- Color the edge bevel with a black marker
- Take one stroke on your stone
- Check marker removal:
- Removed only at very edge = angle too steep
- Removed only at top of bevel = angle too shallow
- Removed evenly across bevel = correct angle ✓
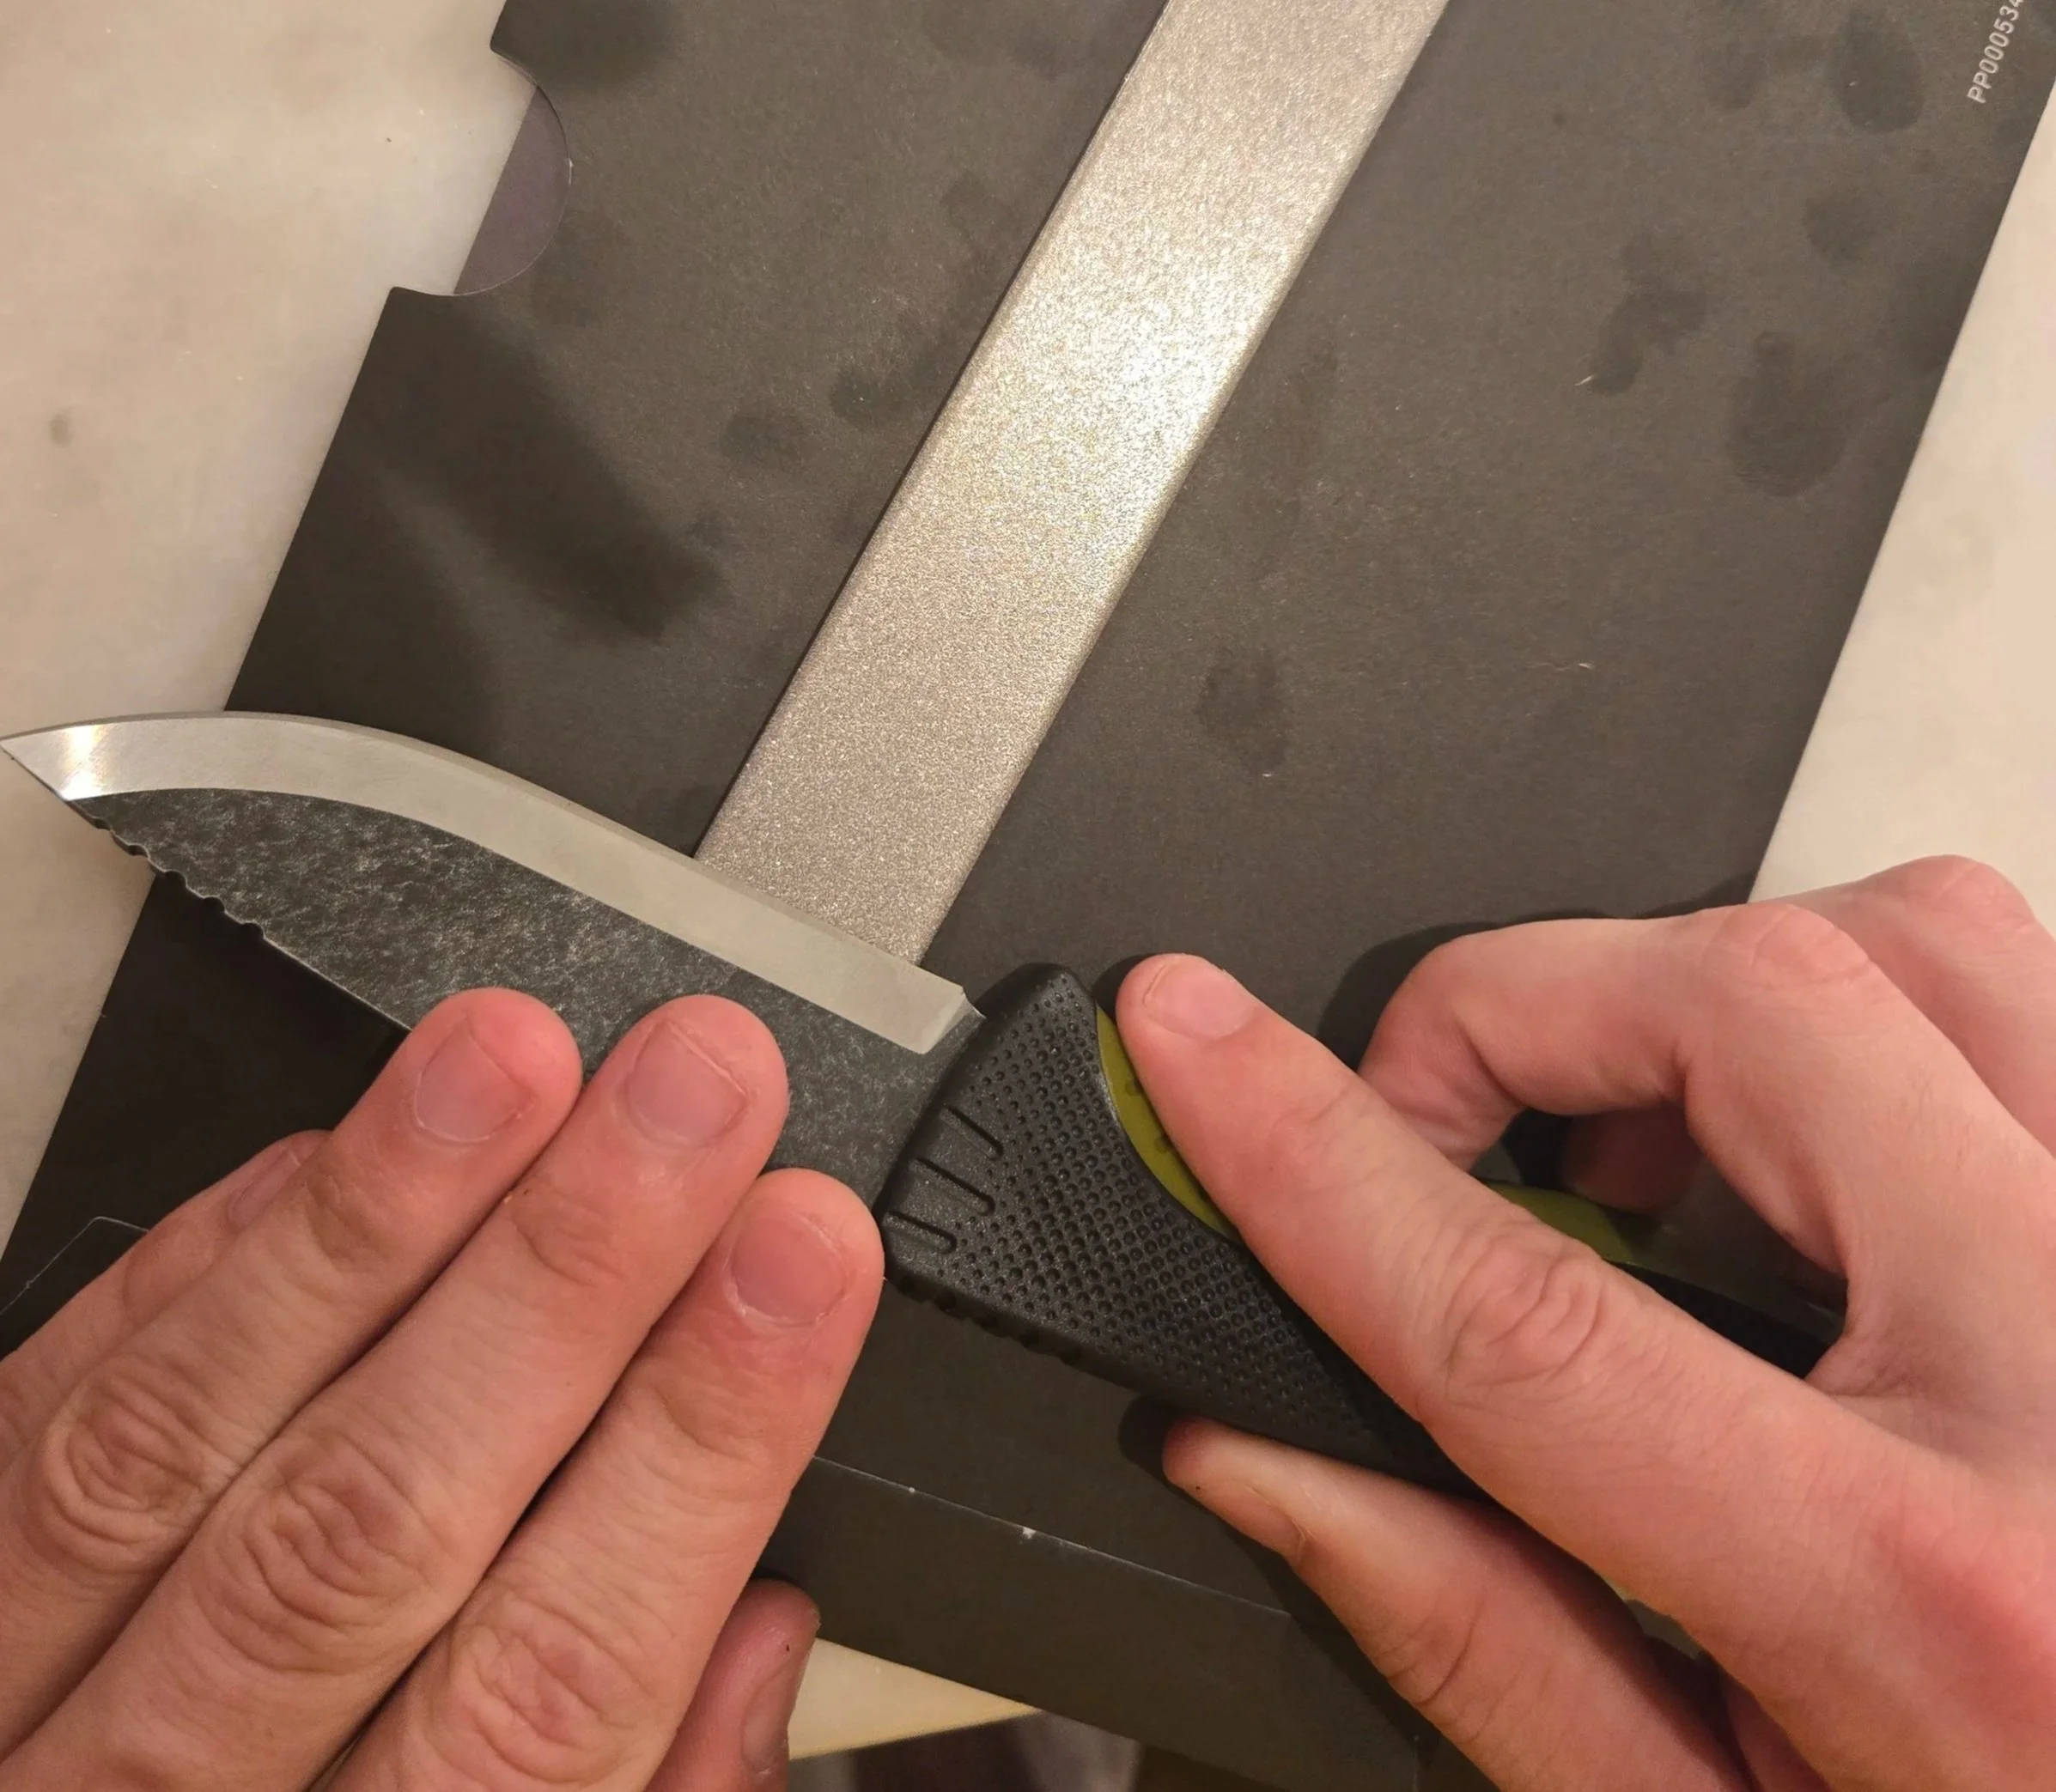
3. Establish a burr
What is a burr? A slight curl of metal that forms on the opposite side of the edge when you've reached the apex.
How to create it:
- Place blade on stone at your chosen angle
- Stroke from heel to tip with moderate pressure
- Maintain consistent angle throughout stroke
- Repeat 10–15 times (or until burr forms)
- Feel for burr on opposite side with your thumb (carefully)
The burr tells you you've sharpened the entire edge to the apex. Without it, you're just polishing the existing angle.
4. Flip and repeat
Switch sides and repeat the process until the burr forms uniformly on the other side.
Key: Match your stroke count on both sides for even edge geometry.
5. Refine and strop
Refining:
- Switch to finer grit stone
- Lighten pressure for final 5–10 strokes per side
- This minimizes the burr while refining the edge
Stropping:
- Use leather strop (plain or with compound)
- Stroke backward (spine-first) to realign the edge
- 10–15 strokes per side
- This removes any remaining burr and polishes the edge
Result: A sharp, refined edge ready for immediate use.
Field sharpening: when you can't access a full kit
In the field, you won't always have a bench stone and strop. Here's the practical approach:
Carry: Small ceramic rod or pocket stone
- Fits in cargo pocket or pack
- Sufficient for touch-ups
Technique:
- Same 20-degree angle
- Focus on the edge only
- 5–10 strokes per side
- Strop on leather belt if needed
Reality check: Field sharpening maintains an edge; it doesn't restore a damaged one. Do your primary sharpening at home. If you're carrying one of the EZE-LAP diamond tools, that's your field kit covered — fits in a pocket and handles touch-ups cleanly.
Testing your edge
Paper test (recommended): Hold a sheet of paper vertically and slice downward through it.
- Sharp knife cuts cleanly with minimal pressure
- Dull knife tears or requires a sawing motion
Shaving test: Carefully shave arm hair.
- Sharp edge cuts hair easily
- Use caution — this tests razor sharpness
Thumbnail test: Place the knife's edge on your thumbnail at a slight angle.
- Sharp edge "bites" and holds
- Dull edge slides across the nail
Frequently Asked Questions
-
Sharpen when your knife no longer performs its intended task easily or requires excessive force.
Quick test: Try the paper test. If the knife tears rather than slices cleanly, it's time to sharpen.
For EDC users: Touch up weekly with a strop. Full sharpening every 1-3 months depending on use.
-
Strop: After every heavy use session, or once weekly for regular EDC
Sharpen: Only when stropping no longer restores cutting performance This conservative approach preserves blade life. Excessive sharpening removes more steel than necessary.
-
The technique remains the same, but harder steels require: more patience (harder steel takes longer to sharpen), better abrasives (diamond or ceramic for high-carbon tactical steels), and a consistent angle (harder steels are less forgiving of angle variation).
-
Yes, but it's difficult with proper technique:
- Inconsistent angles: Creates uneven, weak edge
- Too much pressure: Can chip the edge or damage stone
- Wrong abrasive: Too coarse can scratch blade unnecessarily
Solution: Practice on a cheaper knife first. Once you feel the burr formation and understand the motion, move to your quality blades.
-
Serrated edges require specialized tools (tapered ceramic rods).
Our advice: If your knife has partial serration, sharpen the plain edge normally and leave serrations alone unless severely damaged. Serrations maintain cutting ability longer than plain edges.
-
Short answer: We don't recommend them for quality tactical knives.
Why: Pull-through sharpeners: remove excessive steel, create inconsistent angles, can damage tip geometry, and shortens blade life significantly.
Exception: In emergency field situations, a quality pull-through is better than nothing. But for home maintenance, use stones.
Sharpening setup for EDC and tactical knives
Beginner (under $50):
- Dual-grit diamond stone (coarse/fine)
- Leather strop
- Honing oil or water
Intermediate ($50–150):
- Diamond stone set (coarse, medium, fine)
- Leather strop with compound
- Angle guide (optional training aid)
- Ceramic rod for field use
Advanced ($150+):
- Complete stone progression
- Multiple strops
- Dedicated sharpening station
- Portable field kit
The bottom line
Good steel maintained well outperforms better steel that's been neglected. That's true whether you're carrying a $50 Tenacious or a $180 TOPS knife. The sharpening process is the same either way: the only variable is how often you need to do it.
Related Resources
Knife Blade Shapes Guide: Understand which blade shape fits your needs
Shop all knives: Browse our curated tactical knife selection
Questions about knife maintenance?
Email juan@sftgear.com - I respond personally to every message.